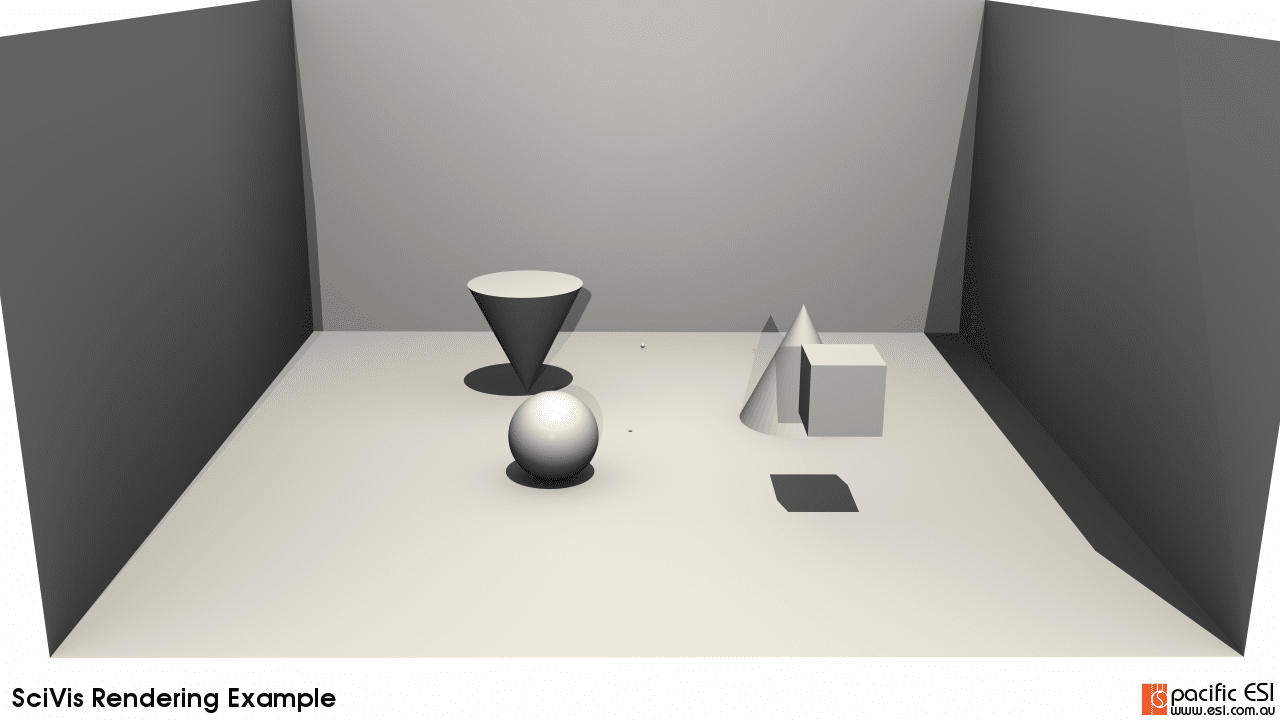
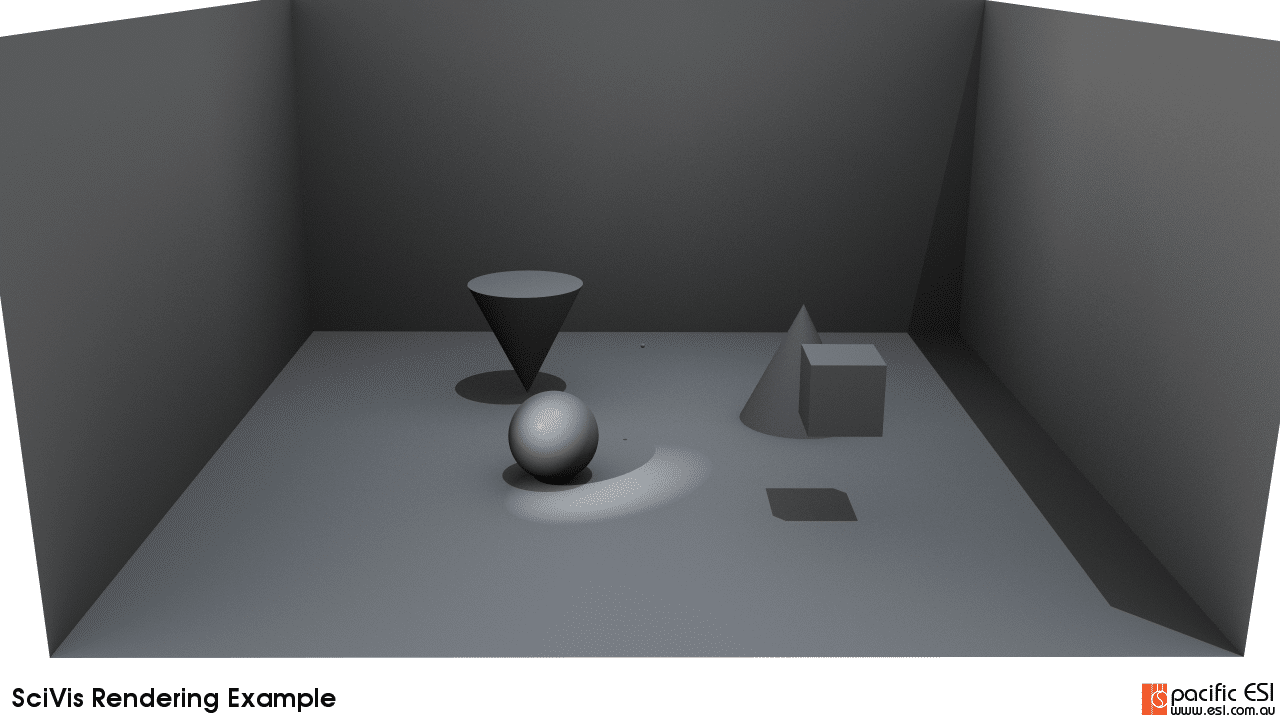
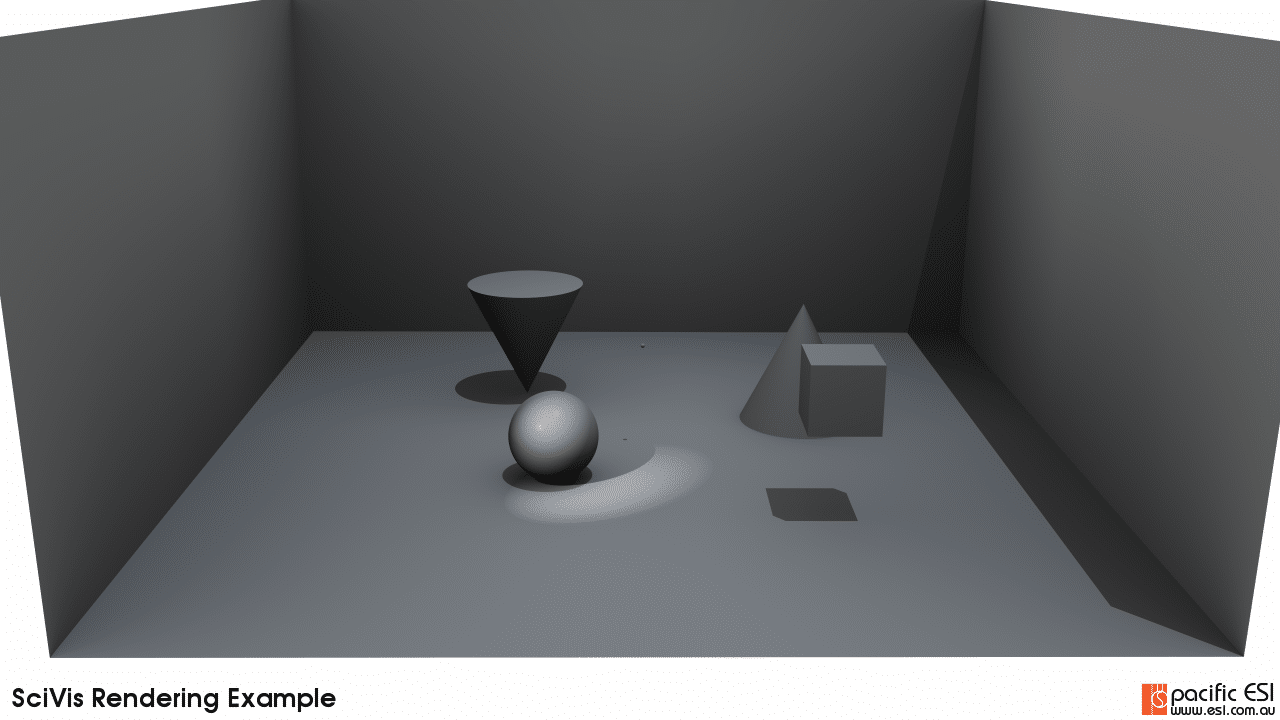
In this post, my second on using Scivis in ParaView, I thought I’d take a step back and examine lighting setups on a simple scene and look at the differences between positional and directional lighting. To do this I’ve used a sample “room” that I’ve made up with ParaView geometric primitives, as shown below. Specifically, in the scene I have:
- Four plane objects to create a set of floor and walls.
- A cone, base down on the floor
- A second cone, point down on the floor
- A large sphere sitting on the floor
- A smaller sphere floating in free space
- A cube floating in free space

As always, the first step is to simply turn on OSPRay and select the scivis renderer, as shown below. Again, the default light kit is pretty good. There are two main lights doing most of the work in this scene though:
- Key Light: which is providing the general illumination of the scene – think something similar to the sun
- Head Light: which is providing subtle highlights from the direction of the camera in this scene.
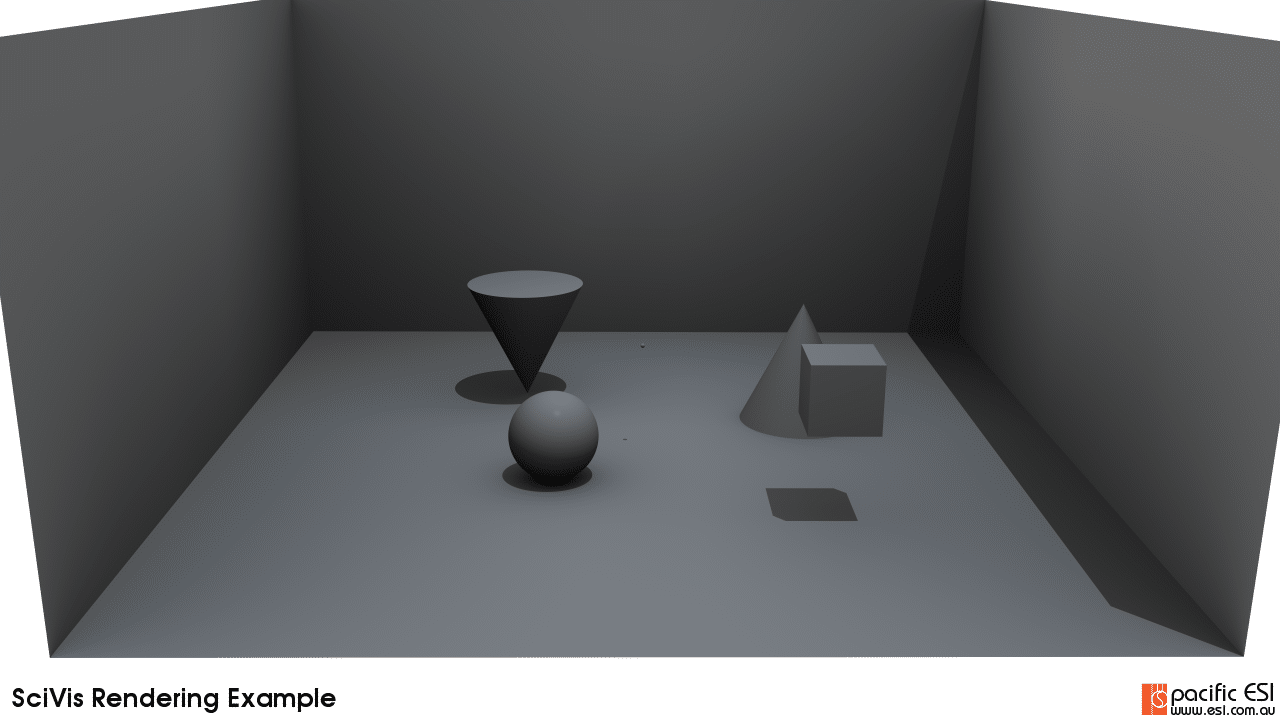
As I want to explore, the next step is to turn off the light kit and add in my key light, as shown below. In this example the key light is still high and slightly to the right of my camera. Here I’ve used a directional light so that the incoming rays are all parallel – again, think like the sun. As a difference though I’ve change the light colour to represent the light on a more cloudy day – in RGB space I used (201, 226, 255). Colour theory is a whole world in itself so I’ll try to get back to that in a future post.
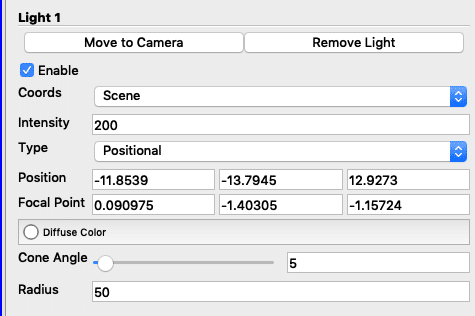
Next I’m going to add in a positional light to provide some highlights for me. I think of these lights as the equivalent of a spot light on a stage. On a stage, they’d usually highlight an actor or point of interest. Here, I’m simply doing the same, as shown below.
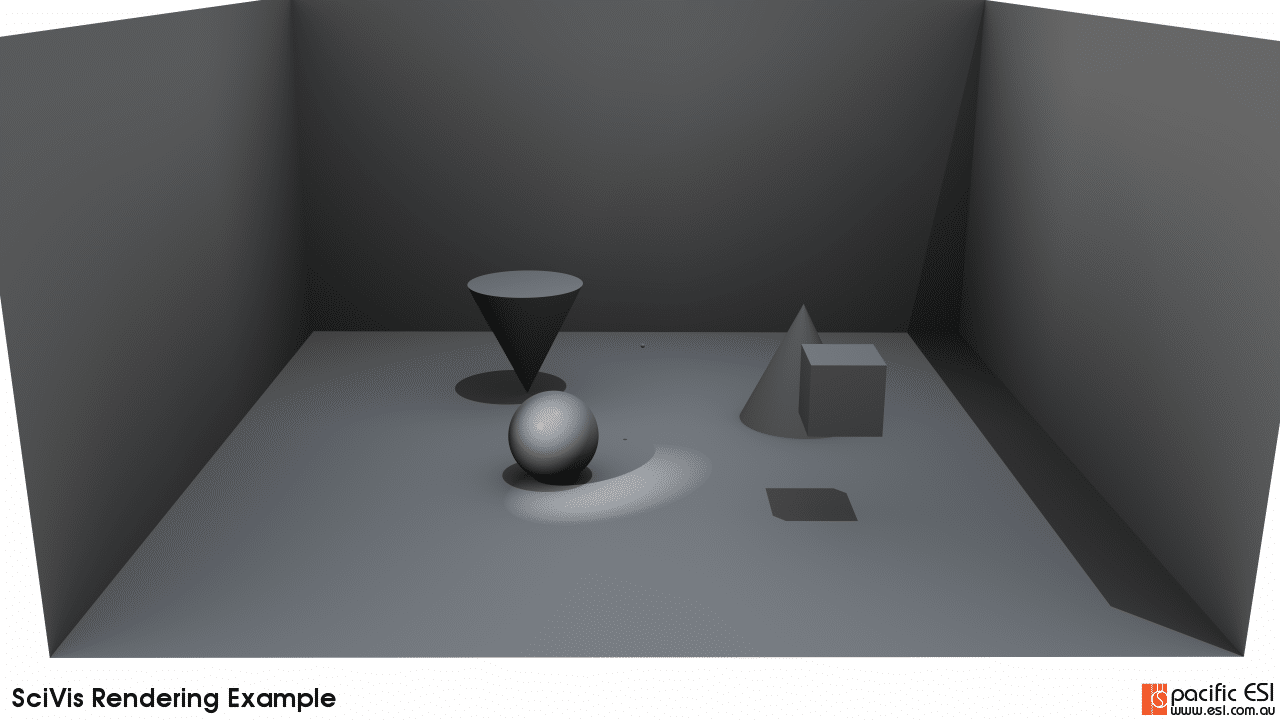
The positional light I’ve just added is based on the default white colour but I’ve increased the radius of the light to 50 degrees in order to add “soft” shadows. This can be observed with the shadow the sphere is casting on the floor of the scene. Inside the light we have a nice sharp shadow that well defines the shape of the sphere. Alternatively, on the outside of the highlight we have a more gradual change from light to shadow. As with all lighting this is a personal choice and my thought is always to use the lighting to highlight your point of interest.
To digress a little, the trick that use when setting lights is to use ParaView’s custom viewpoints dialog, shown below. I set the current viewpoint to where I want my camera to be. That way, if I move the scene or need to pan around to check a detail, I can quickly return to the camera location.
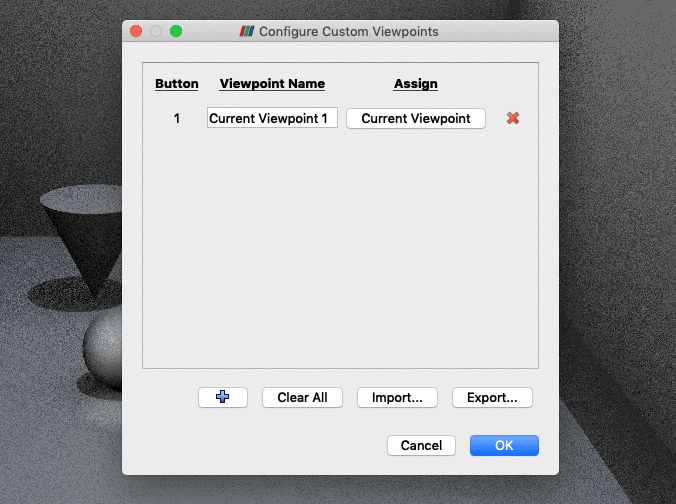
This trick is particularly handy because one of the simplest methods to set the position of a light is to move your viewpoint to where you want, then add the light and use the “move to camera” button, shown below, to move the light source to your camera position. The custom viewport then allows me to quickly jump back to my camera position and view the results.
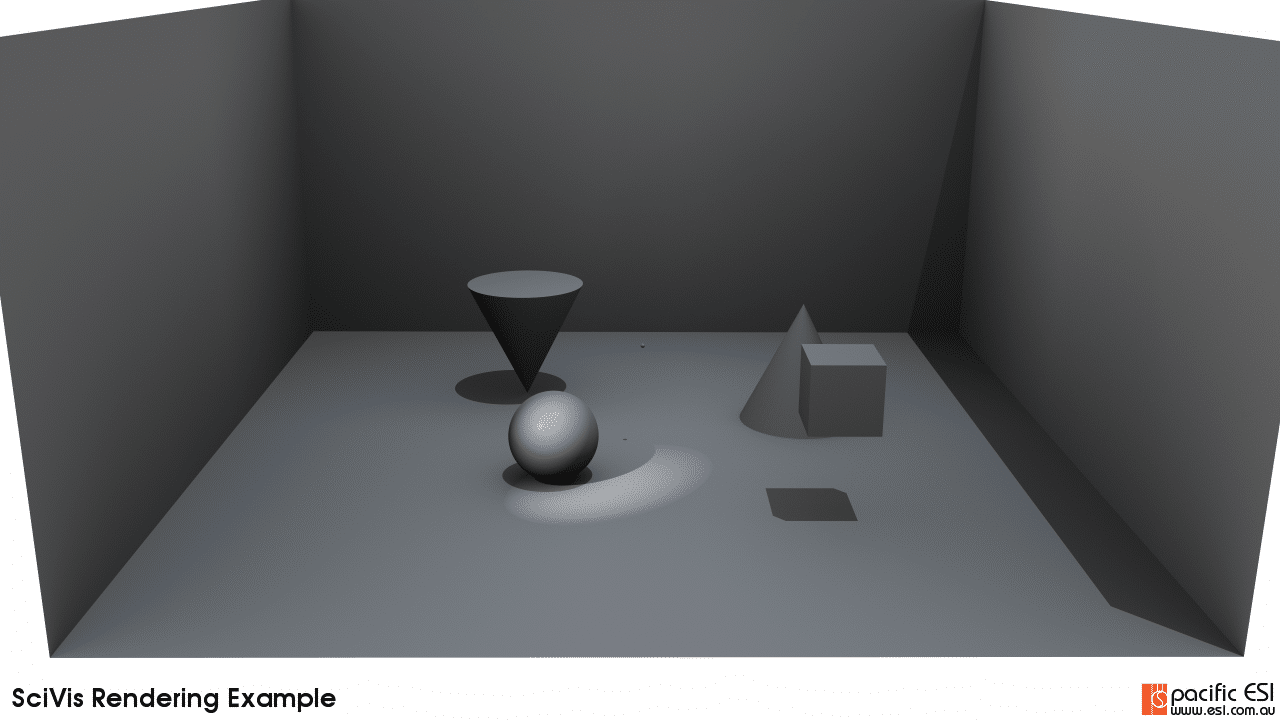
From here, the final setting is to render the scene, which you’ve actually already scene above in Figure 4. When it comes to rendering though there are two key points to consider
- Number of ambient samples
- Number of samples per pixel
My rule of thumb is that the more samples the “better” the image will look but it will also take more time to render. I’ve not really found a sane method to estimate the values for each of these parameters in advance, so I usually just pick a representative scene and play with the sample rates until I get what I’m after. The only real rule of thumb that I have is that as the scene complexity goes up, you’ll need more samples. To illustrate that process there is a set of images below that illustrate the differences. In the first set I fixed the ambient samples at 20 and then varied the samples per pixel from 1 to 1000. For this scene there is really no need to move beyond 10 samples and certainly 1000 is just a waste of time.


For the next set I fixed the samples per pixel at 20, which seemed OK from above and varied the ambient samples from 1 to 100. Again for this scene the diminishing returns kicked in between five and 10 and I couldn’t see a difference moving to 20 or 100.


Finally, thanks for reading this article and please leave a comment below. If you are interested in being updated when similar items are posted then either subscribe via RSS or sign up to my mailing list below.